
Last updated October 15, 2026
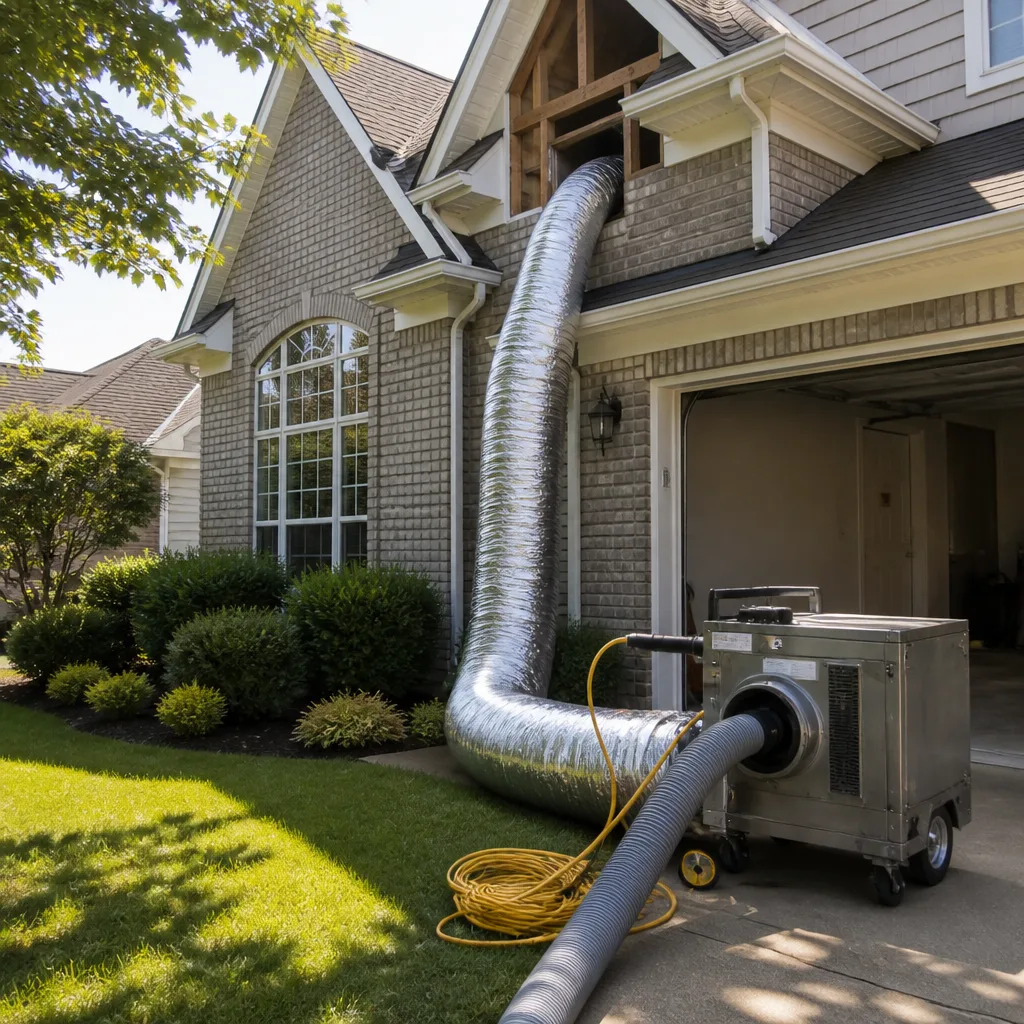 Whole-home duct cleaning
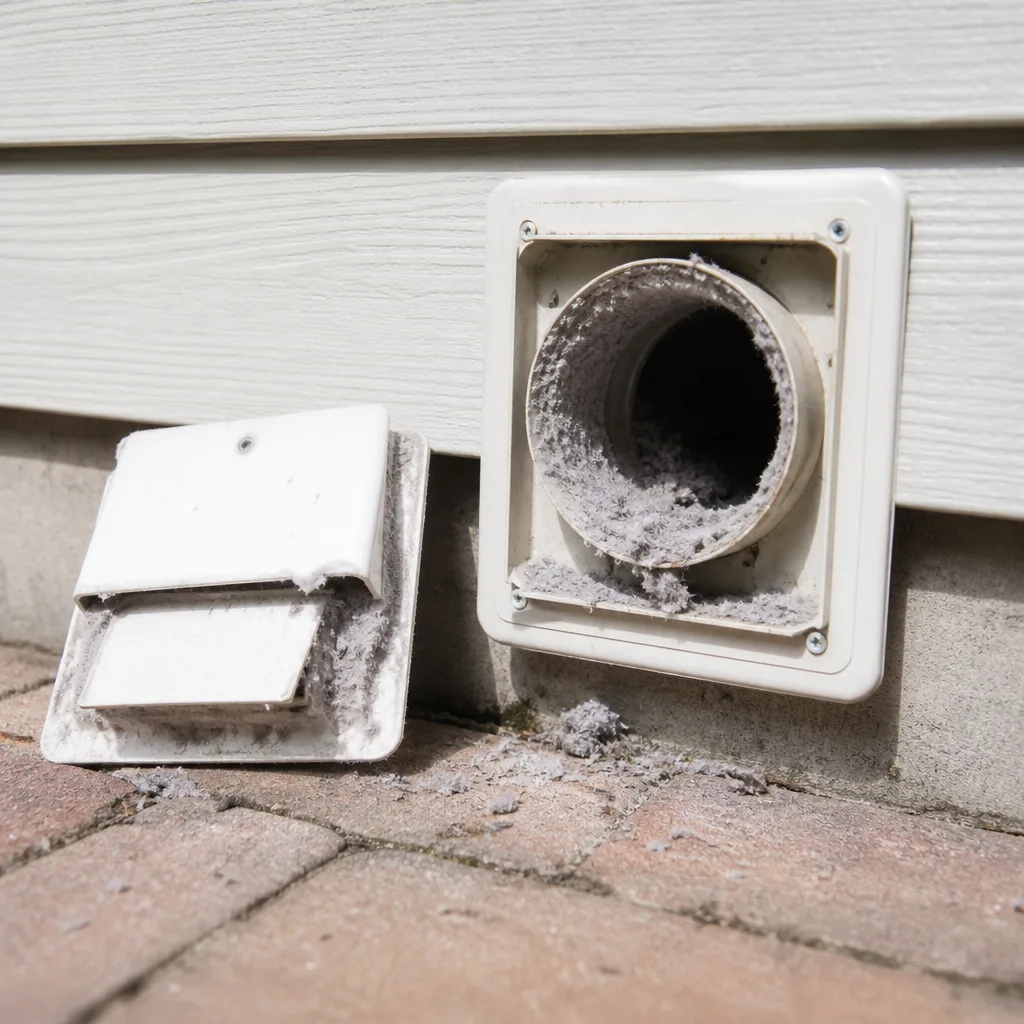 Dryer vent cleaning
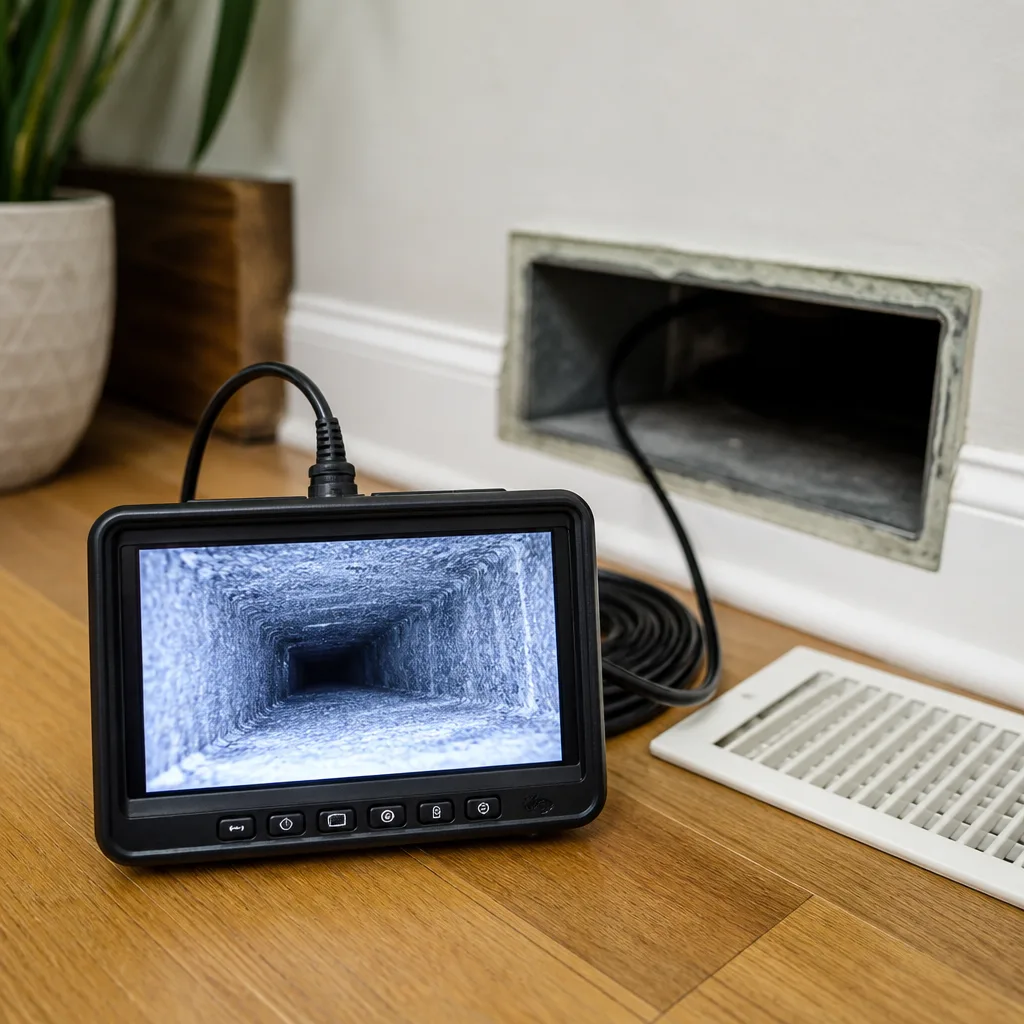 Camera inspection
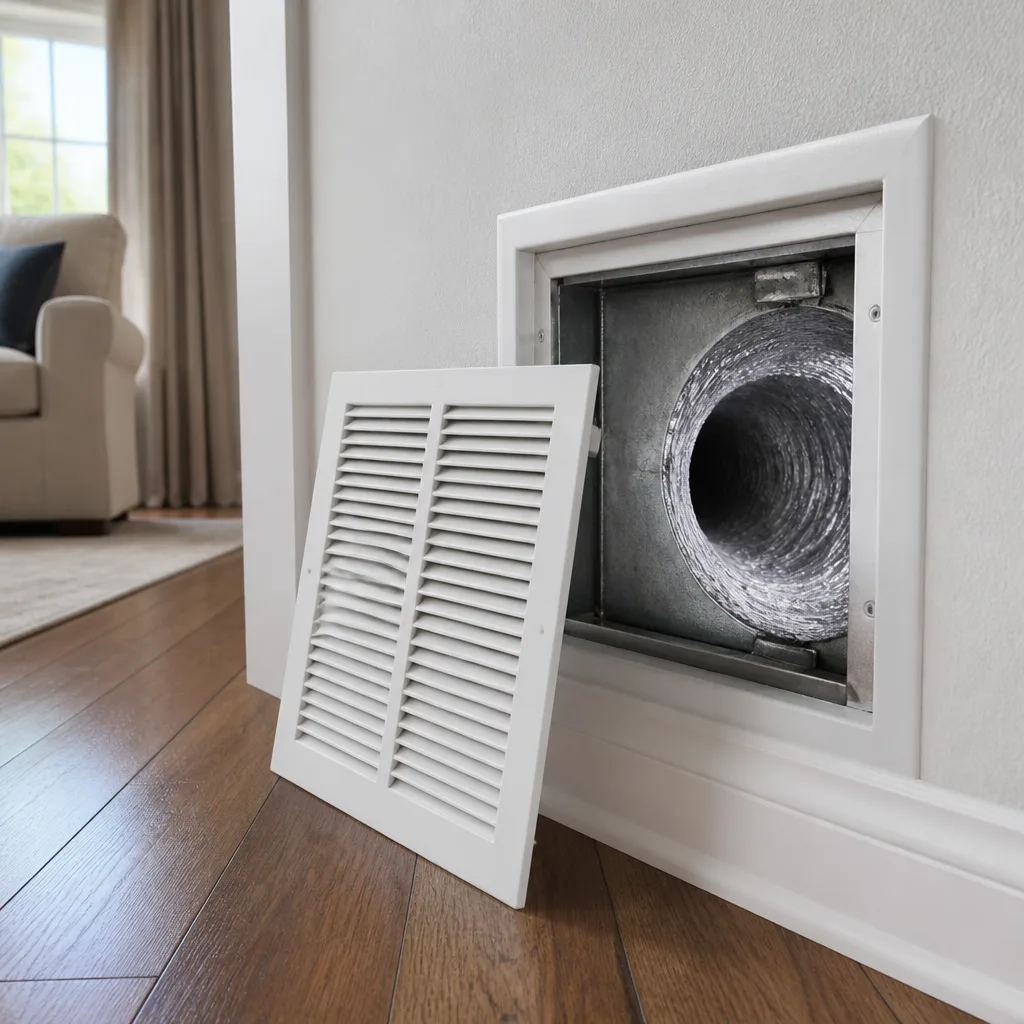 Sanitizing & deodorizing
Whole-system duct and dryer vent check with before-and-after photos - you see exactly what came out of your vents
That "$99 whole-house special" is a bait ad - the real number appears once they are in your hallway, or the "clean" is a shop-vac at the register. We photograph the inside of your ducts before and after instead.
DIY vs Professional Air Duct Cleaning: The San Antonio Homeowner’s Decision Guide
Here’s a counterintuitive fact about duct cleaning in San Antonio: the average homeowner already owns about 60% of the tools needed to start the job. But that 60% only gets you through the first six inches of each vent opening. The remaining 40% of the work, which involves the main trunk lines, return plenum, and air handler cabinet, requires equipment that no rental counter in Bexar County stocks. What separates a maintenance-minded homeowner from a frustrated one is knowing precisely where that line falls. This guide maps out what you can genuinely accomplish with a Saturday morning and a shop vac, what you can’t, and how to use what you find in the first six inches as diagnostic information for the rest of your system.
Styles & brands we work with
Quick Answer
DIY duct cleaning works for what you can see and reach: register covers, boot interiors, and visible duct surfaces within arm’s reach of each grille. It does not work for the main trunk lines, return plenum, or air handler cabinet because those areas require negative-pressure extraction and rotating brush systems to remove debris without redistributing it through your San Antonio home. The most practical approach for most homeowners is DIY maintenance between professional air duct cleaning visits, not instead of them.
Table of Contents
- What DIY Duct Cleaning Can Genuinely Accomplish
- Where DIY Stops: The Trunk Lines, Plenum, and Air Handler
- Why Negative Pressure Matters: What Happens When Debris Is Disturbed Without Containment
- DIY vs Professional Cost Comparison in San Antonio
- Using DIY Observation as Diagnostic Information
- Household Scenarios Where DIY Maintenance Matters Most
- How San Antonio’s Climate Affects Your Duct Cleaning Schedule
- Common Mistakes to Avoid
- When to Call a Professional
- Frequently Asked Questions
- The Bottom Line
What DIY Duct Cleaning Can Genuinely Accomplish
Let’s be honest about what a prepared homeowner with a shop vac, a brush kit, and an hour of focused effort can actually achieve. It’s more than nothing, and in homes with shedding pets it’s meaningfully useful. Here’s the realistic list:
- Register covers: Wash them in warm soapy water or wipe them down thoroughly. In San Antonio, where ceiling registers collect a film of dust plus cooking aerosol, this alone changes how a room smells when the AC kicks on.
- Boot interiors: The metal or flex duct section directly behind the register, roughly six to twelve inches deep, is reachable with a vacuum hose and a stiff brush. This is where the visible dust bunnies live, and you can remove them.
- Visible duct surfaces near the grille: Anything you can see with a flashlight and touch with a brush or a damp cloth. That’s the limit. If you can’t see it, you’re guessing.
- Return air grille and filter housing: The return side pulls air toward the system, so it collects a disproportionate share of pet hair, lint, and general household dust. Cleaning this area is genuinely valuable, because it’s the first surface air touches before it enters your equipment.
Here’s the number that puts the DIY limit in perspective. The average San Antonio home has roughly 40 to 80 linear feet of ductwork. A thorough DIY session covers maybe 8 to 12 of those feet, all of it within arm’s reach of a grille. The rest lives behind drywall, in chases, between floors, and inside the air handler cabinet. We’ve inspected enough systems in San Antonio to know that the visible residue is rarely the whole story. What you remove from a register boot is meaningful for that boot. What’s coating the inside of your main trunk line is a different quantity entirely, and it’s not something a shop vac hose can touch.
That said, doing the first six inches properly between professional visits is not busywork. Think of it like brushing between dental cleanings. You’re not replacing the hygienist. You’re making the next visit more effective and extending the interval before it’s needed. A homeowner who pulls register covers twice a year, washes them, vacuums the boot, and keeps fresh filters in the system is doing real maintenance. We’ve been cleaning ducts in San Antonio since 2005, and we’d rather work in a home where someone has done that than one where the registers haven’t been touched in a decade.
Where DIY Stops: The Trunk Lines, Plenum, and Air Handler
The main trunk line is the large rectangular or round duct that runs from your air handler through the center of the home, with smaller branch lines splitting off to feed each room. The return plenum is the box where air gathers before being pulled back into the system. The air handler cabinet houses the blower, coil, and filter. These three components are where the majority of accumulated debris lives, and they share two characteristics that define the DIY limit: they’re inaccessible without specialized access points, and they require containment during cleaning.
Here’s the technical truth about why these areas defeat consumer tools. A shop vac operates on a principle we call open-cylinder suction. It pulls air through the hose, catches large debris in the cylinder, and exhausts fine particles right back into the room through the filter, unless you’ve upgraded to a HEPA cartridge. More importantly, the hose reach is physically limited to what’s within a few feet of a register opening. You cannot navigate a shop vac hose through a 90-degree branch fitting, down a 20-foot trunk run, and back up through a floor register on the other side of the house. The geometry alone is disqualifying, before you even consider suction power.
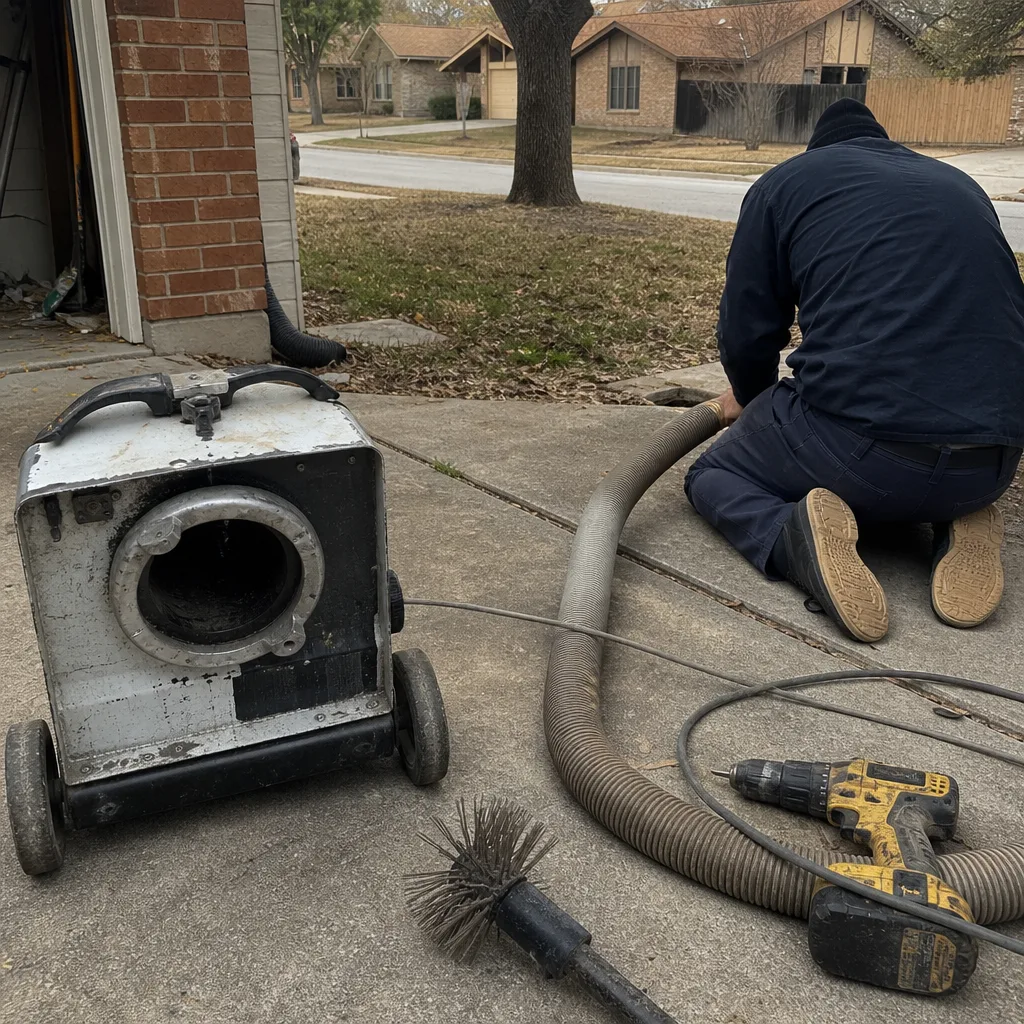
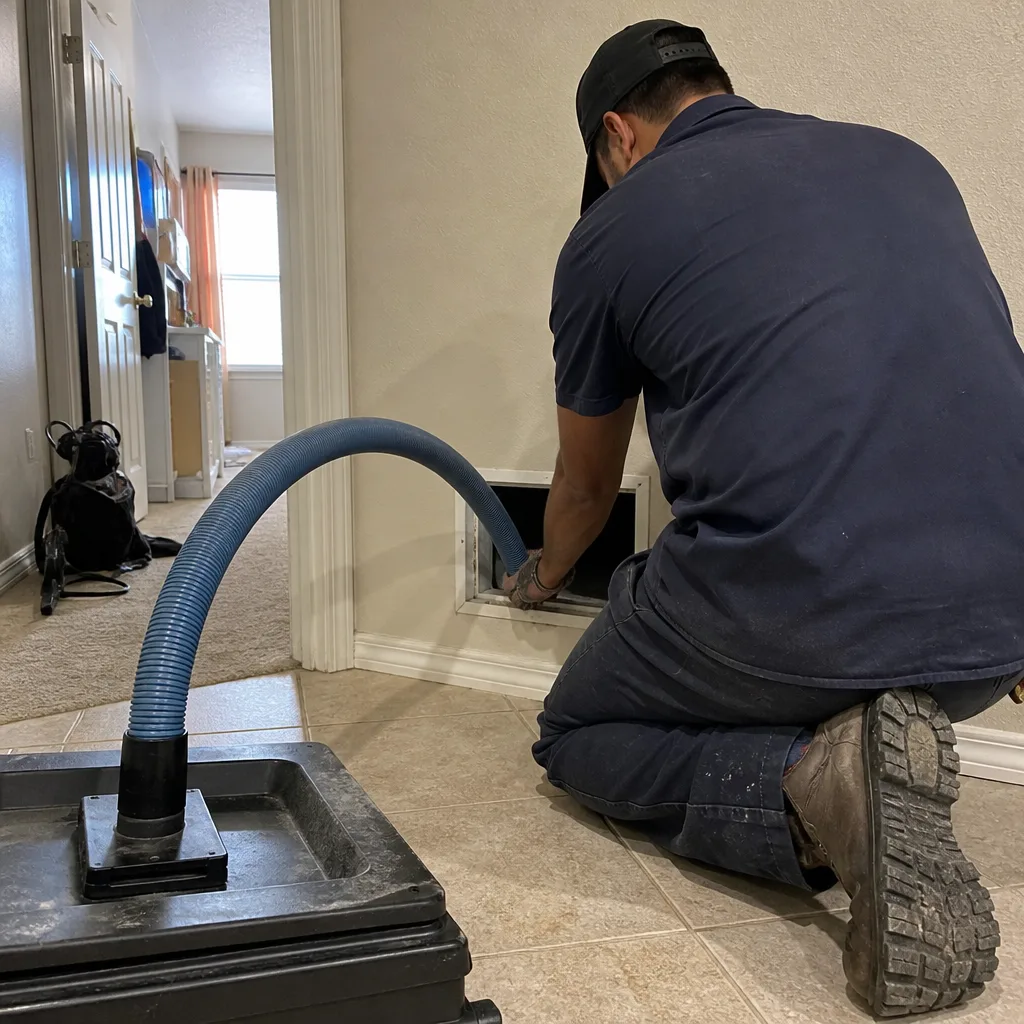
Professional systems solve both problems differently. A Rotobrush or Nikro system works by combining a powerful negative-pressure vacuum, usually mounted outside or at the air handler, with a rotating brush head that travels through the ductwork. The negative pressure means the entire duct run is under vacuum while the brush agitates debris from the walls. Debris doesn’t get pushed ahead of the brush into other parts of the system. It gets pulled toward the collection unit continuously. The agitation separates material from the duct walls; the vacuum captures it before it can relocate. Both functions must happen simultaneously. If you agitate without adequate vacuum, you’re just breaking debris loose and letting it settle somewhere else. If you vacuum without agitation, you only remove loose surface dust and leave the caked-on layer behind.
This is the core distinction that guide-style articles usually gloss over. It’s not that professionals own more expensive vacuums. It’s that the method itself is fundamentally different. We run the same approach in every San Antonio home we service: seal the register openings, run negative pressure, work the trunk lines with agitation, and only then release the seal. The equipment brands we use, like Abatement Technologies for containment and Rotobrush for agitation, are designed for this specific simultaneous process. They’re not entry-level rental gear with a longer hose.
Why Negative Pressure Matters: What Happens When Debris Is Disturbed Without Containment
Picture a dusty shelf inside a dark box. You reach in with a hand broom and sweep vigorously. What happens? The dust doesn’t leave the box. It swirls, settles, and redistributes. Some of it lands on your arm. The box is now dusty in different places. That’s the essential problem with agitating duct debris without negative pressure. You move it. You don’t remove it.
In a residential duct system in San Antonio, where AC runs hard from May through September, the debris layer inside ductwork isn’t just loose household dust. It’s a stratified mix: fine airborne dust, pet dander, cooking aerosols, humidity-compacted material, and in many homes, construction dust from the original build or a past renovation. The finer particles adhere to duct surfaces because of the slight static charge in moving air. When you disturb this layer with a brush and no containment, the fine fraction goes airborne. Within minutes, it finds new surfaces. Some of it exits through the register openings you left uncovered. Some of it settles deeper in the system, in a section you weren’t reaching anyway. And when the system cycles on, the newly disturbed fine dust gets blown directly into living spaces. The air in the house can actually get worse after an uncontained DIY attempt than it was before.
Professional negative-pressure extraction prevents this. By sealing the system to the collection unit, the entire duct network becomes a controlled environment under continuous vacuum. Agitation from a rotating brush happens inside a system where the air is moving one direction only: toward collection. There’s no swirl-and-settle dynamic. There’s extraction. This is why the tools matter. A Nikro or Abatement Technologies vacuum unit can maintain the negative pressure needed for a full-home system, which requires moving hundreds of cubic feet of air per minute through the duct path. A consumer shop vac, even a powerful one, tops out at a small fraction of that. The difference is not slight. It’s categorical.
Here’s the practical implication for the San Antonio DIYer who wants to vacuum out register boots. It’s safe to do, provided you follow one rule: vacuum gently, don’t brush aggressively, and keep the vacuum running the entire time. The moment you start scrubbing visible dust deeper into inaccessible sections, you’ve crossed from maintenance into disturbance. If you see dust on the visible surfaces, remove it with suction plus a light wipe. If you can’t see what’s beyond your reach, leave it alone and put it on the professional list. That restraint is what separates useful homeowner maintenance from accidental redistribution.
DIY vs Professional Cost Comparison in San Antonio
Let’s talk about money without the gamesmanship. If you’re evaluating DIY versus professional air duct cleaning in San Antonio, here’s what each path actually costs, along with guidance from our How to Hire a Air Duct Cleaning Contractor in San Antonio: A Step-by-Step Guide.
DIY tool investment, one-time:
- Quality shop vac with HEPA filter and long hose: $100 to $250
- Duct brush kit with extension rods: $25 to $60
- Microfiber cloths, drop cloths, basic cleaning supplies: $20 to $40
- Flashlight or inspection mirror: $15 to $30
- Replacement filters (a case): $30 to $60
Total realistic DIY setup: between $190 and $440. If you already own a shop vac, the marginal cost drops to under $100. If you buy the HEPA upgrade specifically for this project, you’re at the high end.
Professional whole-system cleaning in San Antonio: market rates for a properly equipped, negative-pressure system cleaning in the San Antonio area generally run between $350 and $650 for an average single-family home, depending on system size, accessibility, number of returns, and condition of the ducts. Homes with two systems, or extensive flex duct runs, can exceed that range. Mortons Air Duct San Antonio provides a written price before any work starts on every visit, so the number you’re quoted is the number on the invoice.
Time comparison:
- DIY thorough attempt: 2 to 4 hours for a first-timer covering all registers, returns, and visible boots, plus time spent researching tools and technique. You’re likely to miss significant portions of the system because you physically cannot reach them.
- Professional visit: 2 to 3 hours for a crew with negative-pressure equipment, full coverage of trunk lines, branches, plenum, and air handler, with photo documentation of the condition before and after.
The honest framing is this: DIY costs less in dollars and more in time and coverage. Professional costs more in dollars and delivers what the dollar amount represents: full-system reach, contained extraction, and documented results in the areas you cannot access. Neither is a scam. They’re different jobs with different scopes. The homeowner who understands this distinction can decide clearly rather than feeling like they’ve been sold a service they could have done themselves.
Using DIY Observation as Diagnostic Information
Here’s an approach that turns a basic DIY inspection into genuinely useful data. When you pull a register cover in San Antonio, before you clean anything, take a moment to study what’s there. The specific character of what you find tells a trained technician a lot about your system.
Follow this sequence:
- Look at the register cover itself. Is the dust on the leading edge (the side facing the room) or the trailing edge (the side facing the wall)? Leading-edge dust is normal household settlement. Heavy trailing-edge dust suggests the supply air from the system itself may be carrying particulates.
- Wipe the inside of the boot with a white cloth or paper towel. What color is the residue? Grey-white is typical household dust. Dark brown or black residue with a greasy texture often indicates years of accumulated cooking aerosol or, in homes near Live Oak or Converse where construction has been ongoing, exterior roadway dust drawn through the return side. Rust-colored residue suggests duct oxidation in humid attic sections.
- Check the filter condition and location. If the filter is bowed inward, the system is struggling for airflow. If it’s coated in pet hair, the return side is pulling hard through unfiltered or poorly sealed return paths. This is direct diagnostic information about negative pressure and filter sizing.
- Smell the register opening with the system running. A musty note that fades after the first few seconds of cooling suggests condensation or microbial growth in the duct lining, not the filter. A persistent dusty smell suggests the coils or the heat strips are coated.
- Write down which rooms show the most dust accumulation. If the northeast bedroom in your Stone Oak home is consistently dustier than the living room, that room’s branch line may have a leak, a disconnection, or a longer flex run with more static loss.
None of this requires special tools beyond your eyes, a cloth, and a flashlight. But each observation has diagnostic value. When you call a professional air duct cleaning company in San Antonio, sharing these notes gives the technician a head start. Instead of starting from zero, the tech knows which rooms to prioritize, whether to inspect the return path, and whether the system may need more than a standard cleaning. Your ten minutes of observation becomes the intake form for a smarter service visit. We’ve had San Antonio homeowners describe exactly this kind of observation and it changes how we approach the job. It’s not required, but it’s a genuine contribution.
Household Scenarios Where DIY Maintenance Matters Most
Certain San Antonio households will see a notably bigger benefit from regular DIY maintenance between professional cleanings than others. If you recognize your household in these descriptions, the between-visit work pays for itself in filter life, air quality, and simply how much dust settles on furniture.
Homes with shedding pets. This is the flagship case. A dog or cat that sheds continuously introduces a large volume of hair and dander into the air that eventually reaches the return side and the filter housing. In homes with two or more pets, the interval between filter changes shortens significantly, and the return grilles accumulate visible hair. A monthly wipe of return grilles and a bi-weekly filter check is genuinely productive DIY work. It doesn’t replace professional cleaning of the ducts, but it reduces how fast debris accumulates in the months after a cleaning. The air duct cleaning service we do in San Antonio homes with pets often shows us return plenums coated in a mat of hair and dander that no consumer tool can touch, but the amount of loose hair in the register boots is entirely within the homeowner’s reach to manage.
Homes with active woodworking or craft hobbies. Sawdust and fine particulate from sanding, painting, or fiber crafts behaves differently than household dust. It’s heavier, it settles faster, and it accumulates in thicker layers. A homeowner who runs a table saw in the garage with the interior door open is injecting fine particulate into the return path. This is a scenario where DIY maintenance has a specific rational purpose: weekly vacuuming of visible return grilles and monthly replacement of filters prevents the fine fraction from cementing into the duct lining. It’s a real, measurable difference. The fine dust from woodworking is exactly the kind of material that, once it compacts inside ductwork, requires mechanical agitation to remove. Keeping it from getting that far is just good practice.
Post-renovation situations. If you’ve just completed a kitchen remodel, a bathroom gut, or any project that involved drywall work, your ducts have a fresh layer of construction dust. This is a specific scenario we’ve seen across San Antonio, from Alamo Heights renovations to new builds in Cibolo. Drywall dust is very fine, alkaline, and tenacious. It coats duct walls and blower fan blades. The first month after a renovation is when a professional cleaning delivers maximum value, because the system is at its easiest to clean before multiple seasons of normal dust layer on top of the construction residue. DIY between renovation and the professional visit is limited to filter replacement and wiping visible register boots. Everything beyond that needs the negative-pressure system. The good news is that a freshly renovated home is also the easiest to clean thoroughly, because the dust hasn’t had time to compact.
Homes with allergy-sensitive occupants. If someone in the household has seasonal allergies, the connection between duct cleanliness and symptom management is indirect but real. Ducts don’t generate allergens. They hold and redistribute them. Pollen that entered the home through open doors during Texas spring, or during cedar season, settles in ductwork and re-enters living spaces on system cycles. Regular DIY maintenance reduces the standing load of allergenic particulate in the accessible areas, which is a modest but real contribution to comfort. The professional visit addresses the full system. Comfort in between is what DIY provides.
How San Antonio’s Climate Affects Your Duct Cleaning Schedule
San Antonio’s climate influences your duct system in ways that a generic national guide won’t account for. The combination here is specific: long cooling seasons, occasional high-humidity stretches, and seasonal allergens that vary dramatically through the year. These factors shape both how quickly ducts accumulate debris and what the debris consists of.
The cooling season is the dominant variable. San Antonio systems run in cooling mode from roughly April through October, with some cycling year-round. That’s seven to eight months of continuous air movement through the ductwork. Every hour the system runs, it draws airborne particulate through the return path. Over a full year, a well-sealed home in San Antonio might see the equivalent of several pounds of household particulate pass through the return filter box, with a significant fraction of it bypassing or settling in the ductwork. Longer run times mean faster accumulation, which means the practical interval between professional cleanings in San Antonio is typically shorter than in cooler climates where systems run half the year.
Humidity is the second factor. San Antonio’s springs and early summers bring periods of elevated humidity. Inside ductwork, especially in unconditioned attic sections, warm humid air encounters cool surfaces and condensation forms. That condensation mixes with accumulated dust to form a paste-like residue that hardens as it dries. This is why ducts in Texas homes often show a caked rather than fluffy dust layer. Caked debris does not loosen under consumer-level suction. It requires mechanical agitation to break the bond with the duct surface. The presence of this hardened layer is also why the interval between professional cleanings matters more here than in arid climates. A five-year-old layer of compacted dust in a Phoenix home is still relatively loose. The same five years in San Antonio can produce something you’d need a scraper to shift.
Seasonal allergens add a third variable. The San Antonio area sees oak pollen in spring and cedar fever in winter, with mountain cedar loads that can blanket surfaces inside homes that have open-door routines. Pollen is sticky when it encounters moisture, and the inside of a return duct with mild condensation can hold a surprising amount of it. The practical implication is that scheduling a professional cleaning just after the worst pollen season, or in late spring before the cooling load peaks, tends to deliver the most noticeable improvement. There’s no requirement to schedule on any particular calendar date. But if you’re choosing when to have the work done, the weeks after cedar season winds down, or the weeks before summer cooling truly begins, make practical sense for a San Antonio home, as detailed in our Seasonal Air Duct Cleaning Care for San Antonio: Year-Round Homeowner’s Guide.
Common Mistakes to Avoid
- Running the system while cleaning register boots. This pulls loosened debris backward into the duct path and redistributes it through the house. Turn the system off at the thermostat before you touch any opening. This is the single most common DIY error we encounter.
- Using a leaf blower or compressed air into a register. This pressurizes debris deeper into the system and can damage flex duct connections. It’s the opposite of professional technique. In San Antonio attic installations where flex duct runs are long and sometimes loosely secured, the risk of disconnection is real.
- Spraying liquid cleaners into duct openings. Liquid attracts dust, creates a paste with existing debris, and in humid attic sections can encourage mold growth inside the duct. Dry suction plus a damp cloth on visible surfaces is the appropriate method. Liquids belong nowhere inside the duct path.
- Aggressive brushing of visible dust in a boot. The instinct to scrub is understandable. But without negative pressure, every hard pass with a brush releases fine dust that travels. Gentle suction, light wiping, and restraint are the correct combination.
- Skipping register covers that are painted shut or hard to remove. It’s tempting to skip a register that’s stubborn. But a painted-shut register often signals that the room’s airflow has been restricted for years, which means the boot behind it is likely carrying more debris than the easily-opened ones. A putty knife and patience solve the paint issue.
- Judging the whole system by what’s visible at the register. Clean-looking registers do not mean clean trunk lines. The visible portion is where air exits at relatively high velocity. The debris in the trunk lines settles where air moves more slowly. If your registers look clean but the house smells dusty when the system cycles, the problem is deeper than your DIY reach.
- Replacing filters without checking the filter housing for gaps. A new filter installed in a housing with gaps around the edges lets air bypass the filter entirely. The bypass air carries everything the filter was supposed to catch directly into the system. Check the fit and seal around the filter edges as part of every DIY session.
When to Call a Professional
Call a professional when you see indications of material you can’t identify on your own. Dark, streaky residue inside a return boot that wipes greasy, rather than dusty, often means years of accumulated cooking oil mixed with dust, and it requires mechanical extraction. Visible microbial growth inside the duct opening, which appears as spots or patchy discoloration, should be inspected rather than wiped. A persistent musty odor that returns days after you’ve cleaned accessible surfaces points to something inside the trunk line or air handler. Renovation dust from drywall work warrants a professional visit sooner rather than later, because the fine fraction settles everywhere. Mortons Air Duct San Antonio offers free estimates in San Antonio. Call (903) 354-8393 to schedule one. You’ll get a written price before any work starts, so you’ll know exactly what the visit involves before you decide.
Frequently Asked Questions
Air duct cleaning in San Antonio typically ranges from $350 to $650 for an average single-family home, depending on system size, duct configuration, and accessibility. Larger homes with two systems or extensive flex duct runs can exceed that range. Every professional estimate should specify the full scope in writing, including what is and isn’t included in the price, before any work begins. Call (903) 354-8393 for an exact quote on your system. The estimate is free.
Cheaper quotes typically come from companies that clean only the register boots and visible surfaces without running negative pressure on the main trunk lines, which is the same reach as a determined DIY effort with an entry-level vacuum. A proper professional cleaning requires controlled equipment to cover the full duct path, plenum, and air handler. If a quote is dramatically below the market range, ask specifically whether the price includes negative-pressure extraction of the trunk lines and air handler, or only the branch lines and register boots. The answer tells you what the quote actually covers. Mortons provides a written price before any work starts in every San Antonio visit, so you’ll see exactly what’s included before you commit.
The most reliable way to verify duct cleaning is photographic documentation of the interior of the ducts before and after, specifically the trunk lines and return plenum. Ask for photos from inside the main runs, not just the register openings. You can also request to see the debris collected in the vacuum unit after the job. At Mortons Air Duct San Antonio, every completed job includes a photo of the clean-up before the crew leaves, and before-and-after photos of the duct condition are part of the documentation we provide.
For most San Antonio homes, a professional cleaning every 3 to 5 years is a reasonable interval, with the practical scheduling variables being pet load, renovation history, and climate-driven accumulation. Homes with multiple shedding pets may benefit from a 2 to 3 year interval. Homes with recent construction dust from renovation should consider a one-time cleaning shortly after the project ends. Between professional visits, the DIY maintenance described in this guide, meaning register cleaning, boot vacuuming, and filter replacement, extends the useful interval and keeps the accessible portions of the system in good condition.
You can clean the first six to twelve inches of each register boot and the visible surfaces of the return grilles with a shop vac and a brush, and that work is genuinely useful. You cannot reach the main trunk lines, return plenum, or air handler cabinet, which is where the majority of accumulated debris lives, and which require negative-pressure extraction to clean without redistributing material through the house. DIY is an effective maintenance practice between professional cleanings. For more guides & resources on keeping your system healthy between visits, explore our blog. It is not a substitute for the full-system reach that proper equipment provides.
San Antonio’s long cooling season means the system runs more hours per year than in most of the country, which accelerates particulate accumulation inside ductwork. The humidity cycles in spring and early summer cause condensation inside the ducts that binds dust into a compacted layer requiring mechanical agitation to remove. These factors together mean that San Antonio homes tend to need professional cleaning on the shorter end of the national interval range. The local climate doesn’t make duct cleaning urgent, but it does make it a more frequent practical necessity than in cooler, drier regions.
After a renovation that produced drywall dust or other construction particulate, the most effective approach is to schedule a professional cleaning shortly after the project ends, because the dust is still loose and easier to extract. DIY work after renovation should be limited to replacing filters frequently during the project and wiping register covers once work is done. Attempting to vacuum the duct system yourself after construction is unlikely to remove the fine dust from the trunk lines and may disturb it into other parts of the house. A fresh renovation is actually the easiest condition for a professional cleaning, so scheduling promptly after the work ends delivers the best result.
The Bottom Line
DIY duct cleaning in San Antonio isn’t a scam, and it isn’t a substitute. It’s a maintenance practice with a clear, honest ceiling: register covers, boot interiors, visible surfaces within arm’s reach, and filter maintenance are all genuinely within your reach and worth doing. The rest of the system, meaning the trunk lines, the return plenum, and the air handler, requires negative-pressure extraction and mechanical agitation that consumer tools cannot provide. The smartest sequence is simple. Do the DIY work regularly. Keep observations, and use them as diagnostic information for a professional visit every 3 to 5 years, or sooner if you have shedding pets, a recent renovation, or lingering musty odors. That combination gets you more from both approaches than either one alone. If you’re in San Antonio and want a professional assessment of your system, air duct cleaning in San Antonio is what we do. Schedule an estimate by calling (903) 354-8393. You’ll get a written price before any work starts. For more on the service itself, see our Mortons Air Duct San Antonio home page. And if the dryer vent is on your list too, our dryer vent cleaning in San Antonio page covers that service separately.
Written by Paul Adeyemi, Owner at Mortons Air Duct San Antonio, serving San Antonio since 2005.
See the difference
 Before
 After
After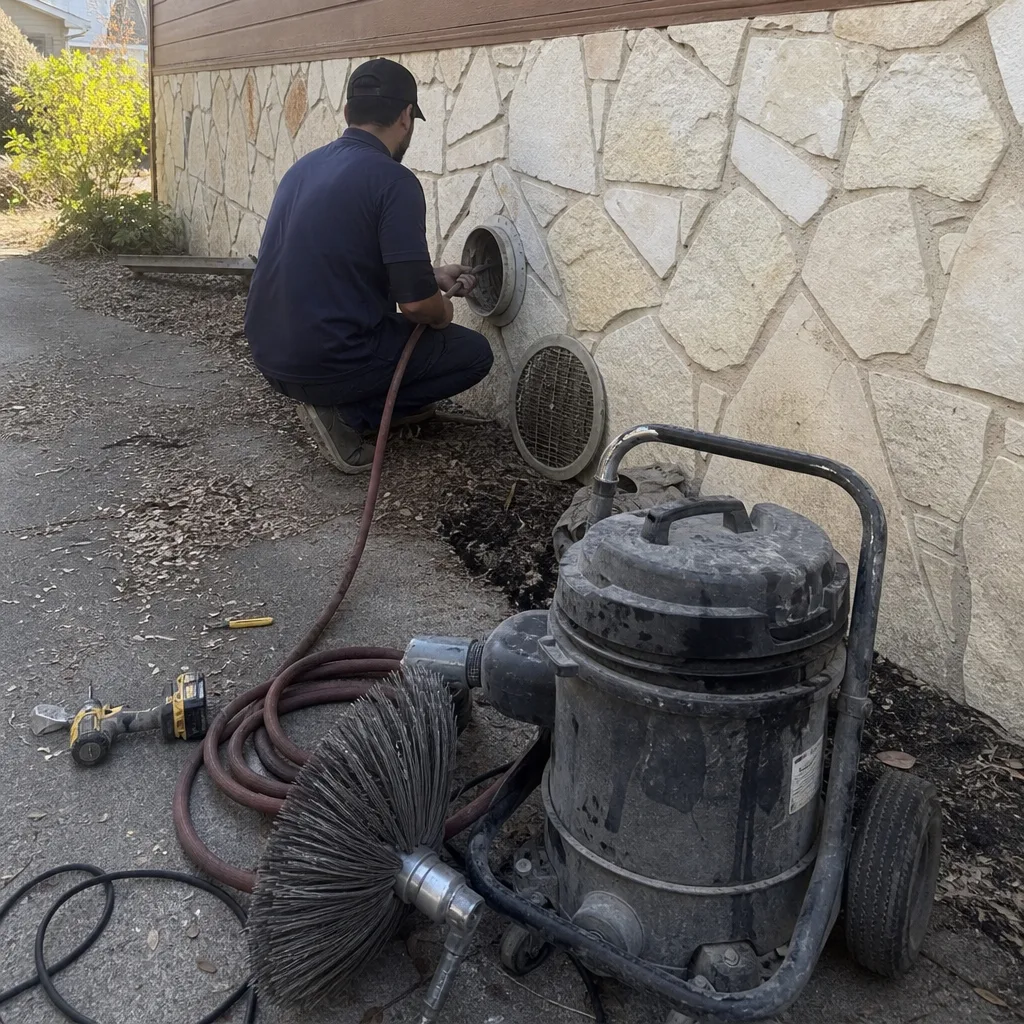 Before
 After
After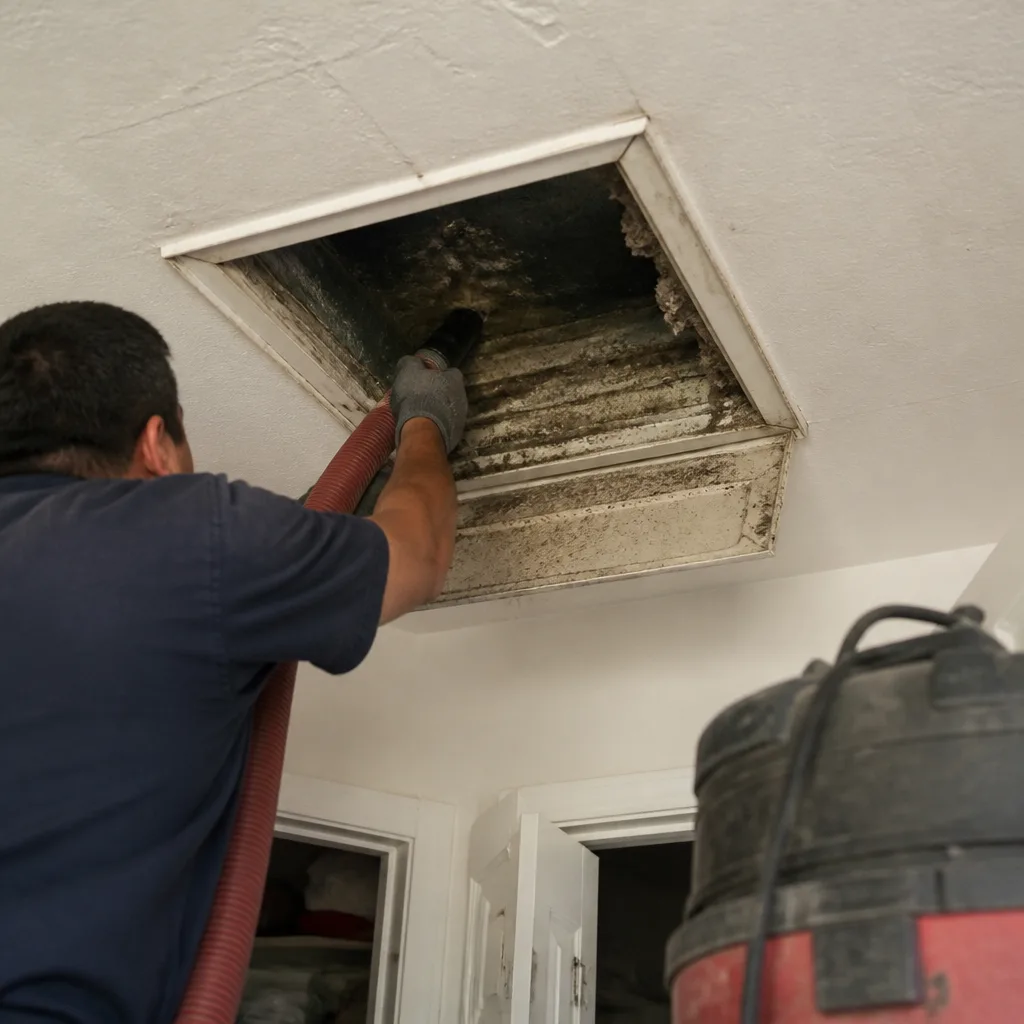 Before
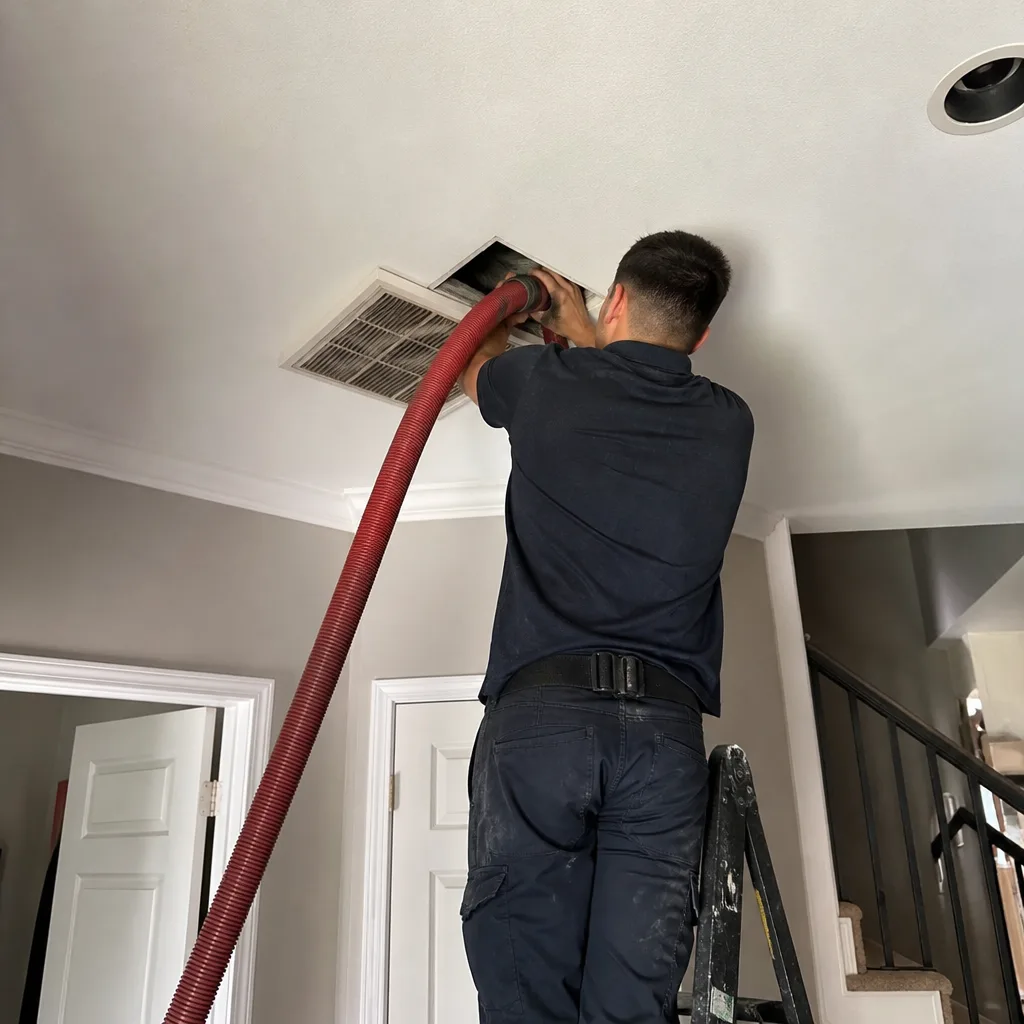 After
After